How to Measure and Plan the Perfect Gallery Wall Layout
Creating a gallery wall is equal parts art and strategy. Once you’ve chosen your prints, frames, and overall theme, the next step is crucial: measuring and planning your layout. Thoughtful measuring not only helps your gallery wall look intentional and balanced, but it also saves time and avoids unnecessary holes in your wall. Whether you're hanging two pieces side by side or creating a full statement wall, this guide will help you get it just right.
Start with Your Wall Space
Begin by measuring the width and height of the wall you’re working with. Decide how much of that space you want the gallery to occupy—a good rule of thumb is to fill about 60% to 75% of the wall. If you’re hanging art above furniture (like a sofa or console table), aim for the gallery width to be roughly two-thirds the width of the furniture.
Choose Your Layout Style
There are many ways to arrange your prints, depending on your style and the number of pieces. Here are a few popular layout options:
1. Grid Layout
Perfect for matching frame sizes and a clean, structured look. Keep spacing consistent—usually 2 to 3 inches between each piece.
2. Linear Layout
Align two or more pieces in a straight line horizontally or vertically. Ideal for hallways or narrow walls.
3. Salon (Eclectic) Layout
A mix-and-match layout with different sizes and spacing for a curated, collected look. Plan on the floor first or use paper templates to get the spacing right.
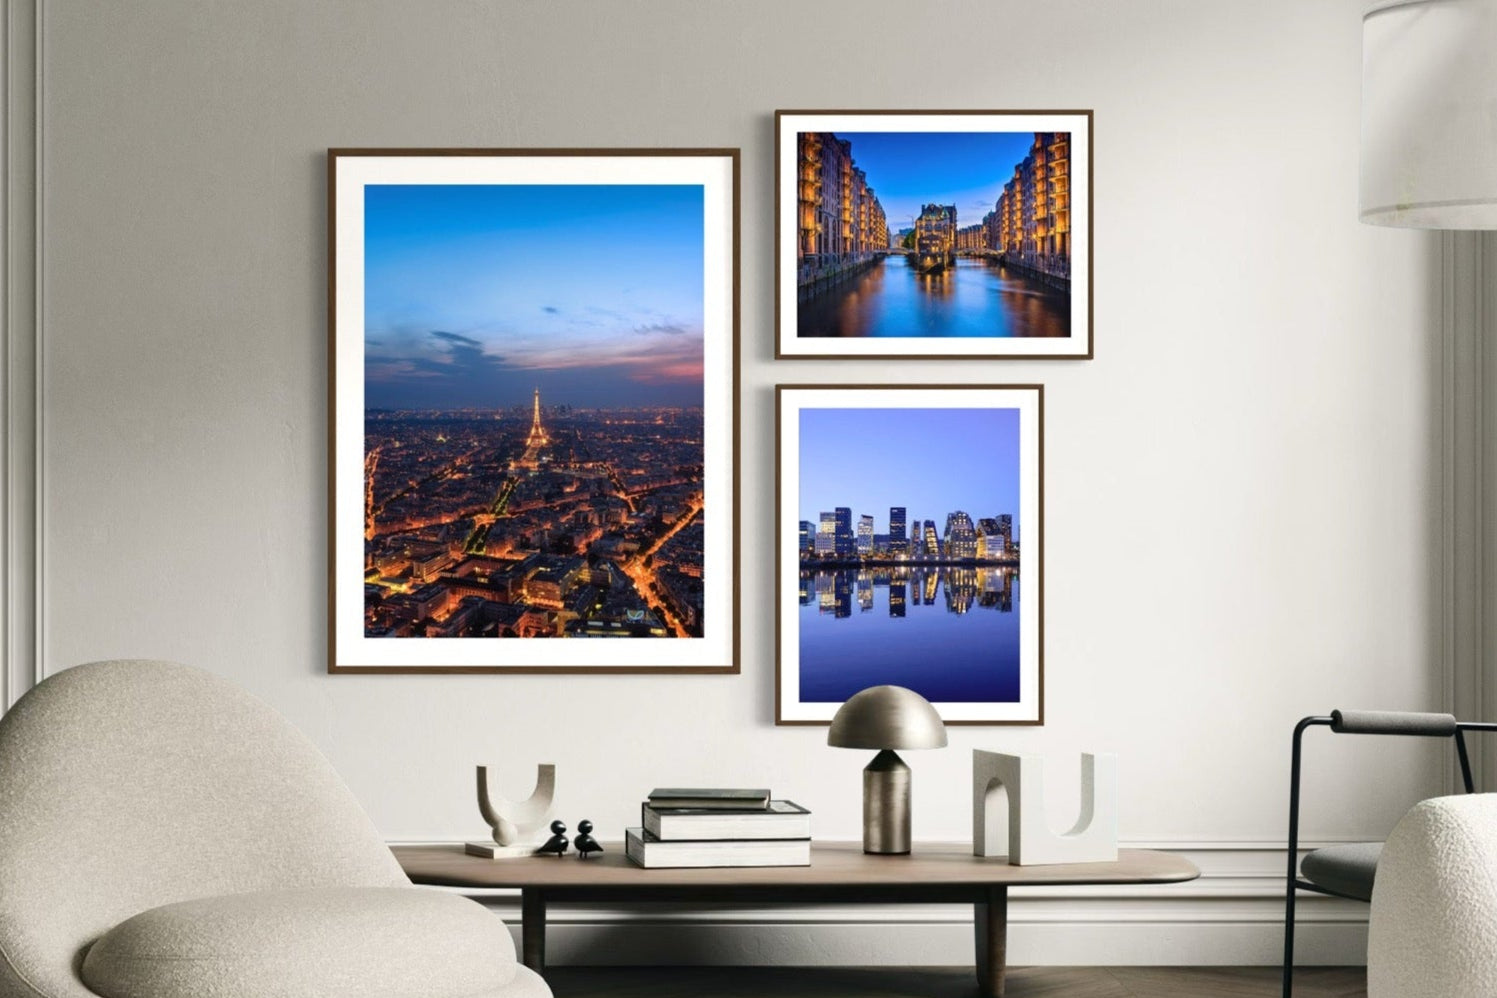
4. Centered Layout
Anchor your largest print in the center and build outward with smaller pieces. This creates a focal point and helps balance varied sizes.
Spacing and Eye Level
-
Leave 2 to 3 inches between frames for clean breathing room.
-
Hang the center of the entire gallery wall about 57 to 60 inches from the floor (average eye level).
-
When hanging over furniture, leave 6 to 8 inches between the top of the furniture and the bottom of the lowest frame.
Use Templates Before You Commit
Cut paper to the same size as each frame and tape it to the wall to visualize the layout before hanging. This trick helps ensure proper spacing and alignment without guesswork.
Planning with Multiple Print Sizes
Whether you’re working with two same-sized prints or a mix of vertical and horizontal pieces, balance is key. Use symmetry or visual weight to guide placement. Here are some layout ideas using our available sizes in inches:
-
Pair two 18x24 framed posters side by side above a desk or console for a clean, symmetrical look.
-
Hang one large 28x40 canvas as a focal point, with two 12x16 framed posters vertically stacked on one side for asymmetrical balance.
-
Create a row of three 12x16 canvases for a sleek linear layout—perfect for hallways or above a headboard.
-
Build a salon-style gallery around a central 20x28 canvas, surrounding it with 5x7, 6x8, 8x12, and 12x16 framed posters for an eclectic yet cohesive design.
-
Combine a larger 36x48 canvas with smaller 12x16 or 18x24 prints to create a grounded layout with visual variety.
These combinations take full advantage of our wide range of framed poster and canvas sizes, allowing you to create layouts that fit your space and reflect your personal style.
Framing and White Margins
White borders can make a big impact in gallery walls with varied spacing. They help visually separate pieces and create a sense of calm. You can choose from a range of frame finishes—black, white, natural wood, or dark wood—to match or contrast with your wall and other décor.
Final Tip: Snap a Photo Before Hanging
Once your layout is planned on the floor or wall with templates, snap a quick photo. Seeing it on camera can reveal any visual imbalances you might miss in person.
With the right prep, your gallery wall becomes more than a collection of art—it becomes a cohesive expression of your style. Stay tuned for future posts exploring even more layout inspiration and advanced styling tips!